
Unlocking the Mysteries of Your Home’s Electricity: A Beginner’s Guide to Basic Electrical Concepts
Electricity. It powers our lives, from the comforting glow of a bedside lamp to the whirring of our refrigerators and the endless stream of information from our devices. Yet, for many, the inner workings of this ubiquitous force remain a complete mystery, often shrouded in a veil of apprehension. But what if understanding the basics of how electricity works in your home wasn’t so daunting? What if you could demystify those wires, outlets, and circuit breakers, not just to satisfy your curiosity, but to empower you to make safer, smarter decisions about your home’s electrical systems?
This comprehensive guide is designed specifically for homeowners and beginners, stripping away the jargon and presenting fundamental electrical concepts in an easy-to-understand manner. We’ll cover everything from the invisible forces of voltage and current to the practical steps of using a multimeter and even how to troubleshoot common electrical hiccups. Our goal is to equip you with the foundational knowledge you need to appreciate the power at your fingertips and to navigate your home’s electrical landscape with confidence and, most importantly, safety.
The Invisible Trio: Voltage, Current, and Resistance

At the heart of all electrical phenomena are three fundamental quantities: voltage, current, and resistance. Think of electricity like water flowing through a pipe.
Voltage (V), often referred to as electrical potential difference or electromotive force (EMF), is the “push” or “pressure” that gets the electricity moving. In our water analogy, voltage is akin to the water pressure in a pipe. The higher the voltage, the greater the “push.” In your home, standard wall outlets typically provide 230 volts (in Nigeria), which is the electrical pressure driving the current to your appliances. It’s measured in Volts (V).
Current (I) is the flow of electrical charge. Going back to our water analogy, current is the actual volume of water flowing through the pipe per unit of time. In electrical terms, it’s the number of electrons passing a given point in a circuit per second. The more electrons flowing, the higher the current. Appliances draw different amounts of current depending on their power requirements. A light bulb draws less current than a high-powered electric kettle. Current is measured in Amperes (A), often shortened to “amps.”
Resistance (R) is the opposition to the flow of current. Every material has some degree of resistance, which impedes the free flow of electrons. In our water analogy, resistance is like a narrow section in the pipe or a partially closed valve – it restricts the flow of water. Materials that offer very little resistance, like copper wires, are called conductors. Materials that offer very high resistance, like rubber or plastic, are called insulators and are used to prevent current from flowing where it shouldn’t. Resistance is measured in Ohms (Ω).
Understanding these three concepts is crucial because they are interconnected, as famously described by Ohm’s Law.
Unveiling the Master Equation: Ohm’s Law and Basic Circuit Calculations
Just as Isaac Newton described the laws of motion, Georg Ohm, a German physicist, articulated the fundamental relationship between voltage, current, and resistance. This relationship is known as Ohm’s Law, and it’s expressed by a simple yet powerful equation:V=I×R
Where:
- V = Voltage (in Volts)
- I = Current (in Amperes)
- R = Resistance (in Ohms)
This formula tells us that if you increase the voltage, the current will increase (assuming resistance stays constant). If you increase the resistance, the current will decrease (assuming voltage stays constant).
Ohm’s Law can be rearranged to solve for any of the three variables:
- To find current: I=RV* To find resistance:R=IV
Let’s do a quick example. If your household hair dryer has a resistance of 20 Ohms and operates on a 230V supply, the current it draws would be: I=20Ω230V=11.5A
This simple calculation is the bedrock of understanding how appliances draw power and why certain circuits are designed for specific loads.
Navigating the Pathways: Series and Parallel Circuits Explained
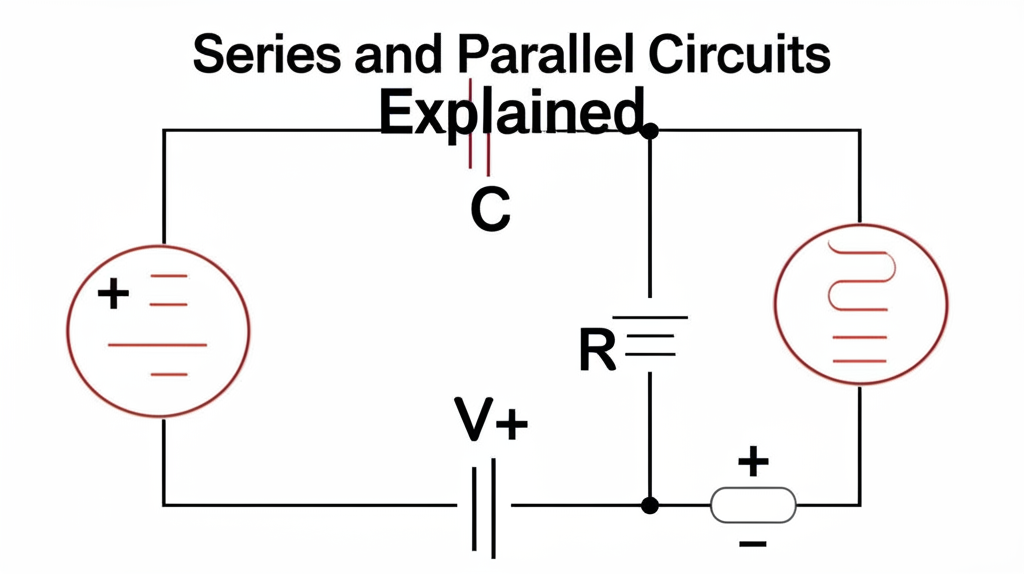
Electrical components in a circuit can be connected in one of two fundamental ways: series or parallel. Understanding the difference is key to comprehending how your home’s electrical system is designed.
In a series circuit, components are connected end-to-end, forming a single path for the current to flow. Imagine a string of old Christmas lights where if one bulb goes out, the entire string goes dark. That’s a series circuit. The total resistance in a series circuit is the sum of individual resistances, and the current is the same through every component. While simple, series circuits are rarely used for primary household wiring because if one appliance fails, everything else on that circuit stops working.
In a parallel circuit, components are connected across the same two points, creating multiple paths for the current to flow. This is how most of your home’s electrical outlets and lights are wired. If one light bulb in a parallel circuit burns out, the others remain lit because they each have their own independent path to the power source. The voltage across each component in a parallel circuit is the same, and the total current is divided among the branches. This configuration provides reliability and ensures that each appliance receives the full household voltage.
Your Electrical Detective Tool: How to Use a Multimeter
A multimeter is an indispensable tool for anyone wanting to delve deeper into basic electrical troubleshooting. As its name suggests, it can measure multiple electrical properties: voltage, resistance, and continuity (whether a circuit is complete).
Here’s a basic overview of how to use it for common measurements:
- Measuring Voltage (AC Voltage for Home):
- Turn the dial to the “V~” or “VAC” setting (AC stands for Alternating Current, which is what your home uses).
- Select the appropriate range (e.g., 250V or higher for household outlets).
- Insert the red probe into the “VΩmA” jack and the black probe into the “COM” (common) jack.
- Carefully insert the probes into the slots of an outlet. The reading on the screen will show the voltage.
- Measuring Resistance (Ohms):
- Ensure the circuit or component you are testing is de-energized (unplugged or power off). Never measure resistance on a live circuit.
- Turn the dial to the “Ω” (Ohm) symbol.
- Touch the probes to the two ends of the component you want to measure (e.g., a light bulb filament, a section of wire). The reading will display its resistance. An “OL” or “1” usually indicates an open circuit or infinite resistance.
- Measuring Continuity:
- Ensure the circuit or component is de-energized.
- Turn the dial to the continuity setting (often indicated by a speaker icon or an arrow pointing to a line).
- Touch the probes together; you should hear a beep, indicating a continuous path.
- Touch the probes to the two points you want to check for continuity. If you hear a beep, there’s a continuous path (e.g., a good wire). If no beep, the path is broken.
Always consult your multimeter’s specific manual for detailed instructions and safety precautions.
Your First Priority: Electrical Safety for Homeowners
Electricity, while incredibly useful, can be extremely dangerous if not handled with respect. Electrical shocks, fires, and even fatalities can occur. Prioritizing safety is non-negotiable.
Here are fundamental safety rules for every homeowner:
- Always Turn Off Power: Before working on any electrical circuit, always turn off the power at the main breaker or fuse box. Verify it’s off with a non-contact voltage tester or multimeter.
- Use Insulated Tools: Ensure your tools have rubber or plastic handles designed to protect you from electrical shock.
- Never Work on Live Circuits: This cannot be stressed enough. Attempting to work on energized circuits is extremely hazardous.
- Don’t Overload Outlets: Plugging too many high-power appliances into a single outlet can overload the circuit, leading to tripped breakers and potential fires.
- Check for Damaged Cords: Regularly inspect power cords for fraying, cracks, or exposed wires. Replace damaged cords immediately.
- Keep Water Away from Electricity: Water is an excellent conductor of electricity. Never touch electrical appliances with wet hands or when standing in water.
- Understand Your Circuit Breakers: Know where your main breaker panel is and how to trip individual breakers in an emergency.
- Install GFCI Outlets in Wet Areas: Ground Fault Circuit Interrupters (GFCIs) are vital safety devices that quickly cut power when they detect a ground fault, drastically reducing the risk of shock in bathrooms, kitchens, and outdoor areas.
- Childproof Outlets: Use outlet covers to protect young children from sticking objects into electrical sockets.
The Network Within Your Walls: Understanding Home Wiring Systems (Single-Phase)
Your home’s electrical system is a complex network, but at its core, most residential wiring in Nigeria is single-phase. This means that electricity is delivered using typically two or three wires:
- Live (Phase) Wire (often brown or red): This wire carries the electrical current from the power source to your appliances. It’s the “hot” wire.
- Neutral Wire (often blue or black): This wire completes the circuit, carrying the current back to the power source. It’s typically at or near zero voltage relative to the earth.
- Earth/Ground Wire (often green and yellow striped): This is a critical safety wire. It provides a safe path for current to flow directly to the ground in the event of a fault, preventing electric shock and protecting appliances.
These wires are encased in various types of cables and run through conduits or within walls, connecting outlets, switches, and light fixtures. The entire system is fed from your main electrical panel, where circuit breakers protect individual circuits.
Simple Upgrades: How to Install a Light Switch or Socket
While complex electrical work should always be left to a qualified electrician, installing a simple light switch or replacing a damaged socket can be a manageable DIY task for the careful beginner, provided you follow strict safety protocols.
Crucial First Step: ALWAYS turn off the power to the circuit at the main breaker panel and verify it’s off with a non-contact voltage tester before touching any wires.
Basic Steps (General Guide – specific instructions may vary):
- Preparation: Gather your tools (screwdrivers, wire strippers, multimeter/voltage tester), the new switch/socket, and ensure the power is OFF.
- Remove Old Fixture: Unscrew the cover plate and then the mounting screws holding the old switch/socket in place. Carefully pull it out of the wall box.
- Note Wire Connections: Pay close attention to how the wires are connected to the old fixture. Take a photo if it helps. Typically, there will be live, neutral (for sockets), and earth wires connected to specific terminals.
- Disconnect Wires: Carefully disconnect the wires from the old fixture. If using screw terminals, loosen the screws and remove the wires.
- Connect New Fixture: Connect the wires to the new switch/socket’s corresponding terminals. Ensure connections are tight and secure. Live to Live, Neutral to Neutral, Earth to Earth. For switches, typically only live wires are connected, interrupting the live feed to the light.
- Mount New Fixture: Gently push the wires back into the wall box and screw the new switch/socket into place.
- Install Cover Plate: Attach the new cover plate.
- Restore Power & Test: Turn the power back on at the breaker panel and test the new switch/socket.
If you are unsure at any point, STOP and call a qualified electrician. Your safety is paramount.
Your Home’s Guardians: How Circuit Breakers Work
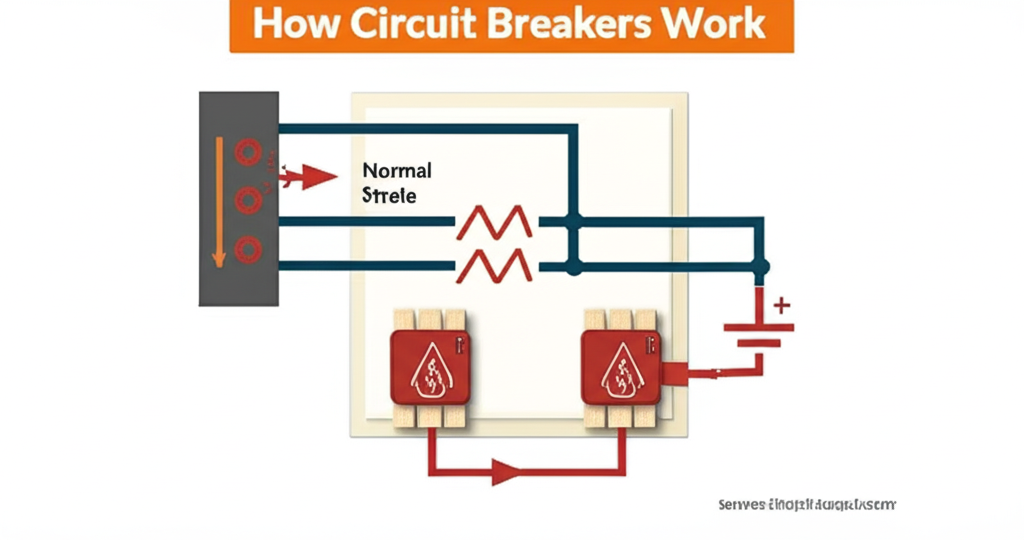
Imagine a sudden surge of power, or an appliance drawing too much current – without protection, this could lead to overheating wires and a serious fire. This is where circuit breakers come in.
Located in your main electrical panel, circuit breakers are essentially safety switches that automatically “trip” or shut off the flow of electricity to a circuit if they detect an overload or a short circuit. They act as guardians, protecting your home’s wiring from damage and preventing electrical fires.
When a circuit breaker trips, it typically means one of two things:
- Overload: Too many appliances drawing power from a single circuit, exceeding its safe current limit.
- Short Circuit: A direct, unintended path for current to flow, often due to damaged insulation or faulty wiring, causing a sudden surge of current.
To reset a tripped breaker, first identify and address the cause (unplug overloaded appliances, check for obvious wiring issues). Then, firmly push the breaker handle all the way to the “OFF” position, and then back to the “ON” position. If it immediately trips again, there’s an underlying problem that requires professional attention.
Becoming Your Own Home Electrician (Safely!): Basic Home Electrical Troubleshooting Tips
While complex issues demand professional help, many minor electrical annoyances can be resolved with basic troubleshooting skills.
- No Power to an Outlet/Light:
- Check the Breaker: Is the circuit breaker for that area tripped? Reset it.
- Check GFCI Outlets: If it’s in a wet area, is the GFCI outlet tripped? Press the “RESET” button.
- Test Other Outlets: Is it just one outlet, or is a whole section of your home without power? This helps narrow down the problem to a specific outlet or a broader circuit issue.
- Loose Connections (After Power Off!): If comfortable and after turning off power, check if wires are securely connected to the outlet or switch.
- Flickering Lights:
- Loose Bulb: Is the light bulb screwed in tightly?
- High-Demand Appliances: Are there high-power appliances (e.g., vacuum cleaner, microwave) on the same circuit causing a momentary voltage drop?
- Loose Wiring: This could indicate a loose connection in the fixture, switch, or even at the breaker panel – if persistent, call an electrician.
- Burning Smell/Buzzing Sound:
- Immediate Action: Turn off the power to that circuit IMMEDIATELY at the breaker panel.
- Identify Source: Look for scorch marks, melted plastic, or loose connections.
- Call Electrician: This is a serious indicator of overheating or arcing and requires immediate professional inspection.
- Frequent Breaker Tripping:
- Overload: Are you consistently plugging too many devices into one circuit? Redistribute your load.
- Faulty Appliance: Unplug appliances one by one on the affected circuit to see if one is causing the trips.
- Underlying Wiring Issue: If trips persist even after reducing the load and checking appliances, there might be a wiring fault or a failing breaker, requiring an electrician.
Remember, if you are ever unsure or uncomfortable with any electrical troubleshooting, always err on the side of caution and call a qualified electrician.
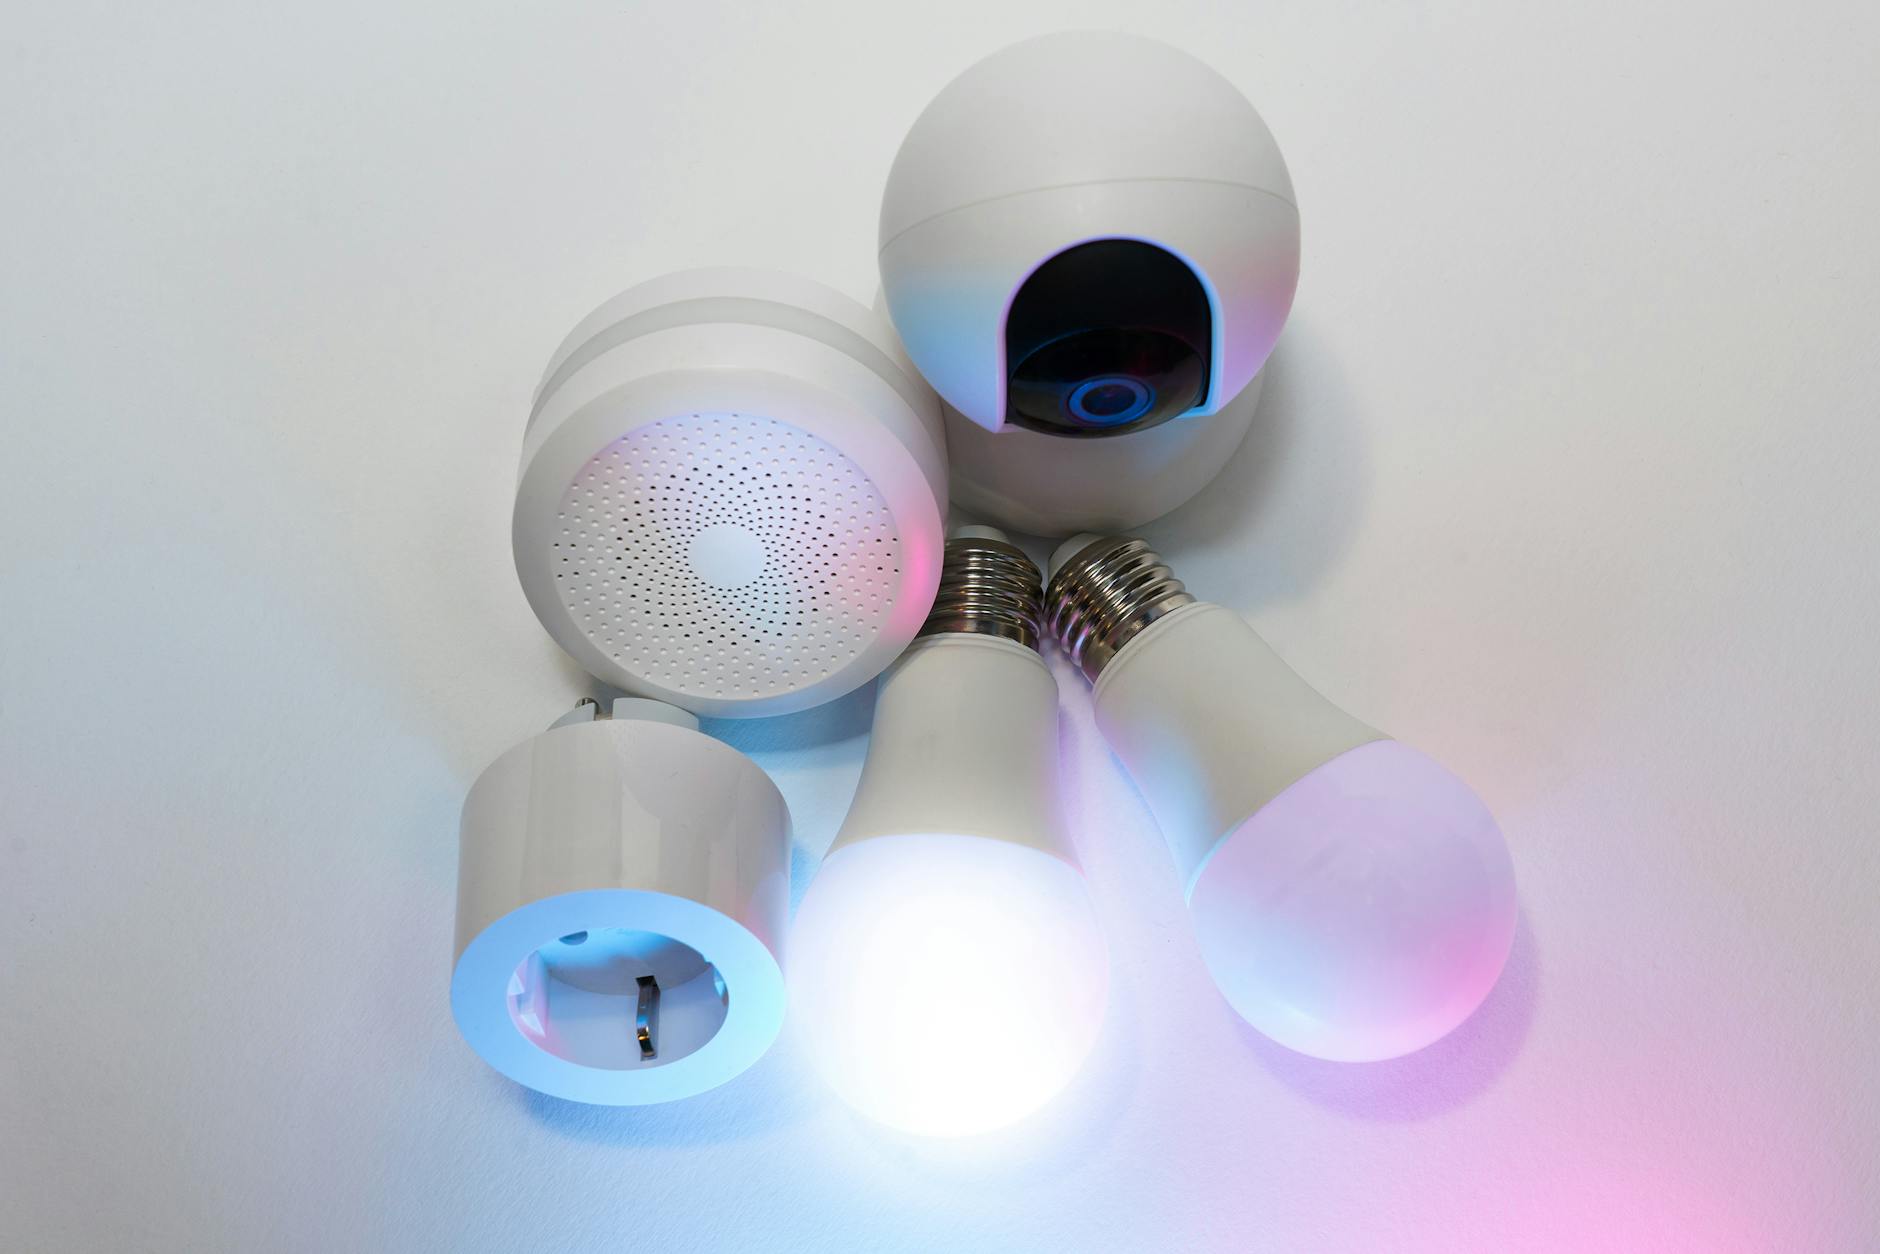
Stepping into the Future: Smart Home Electrical Systems (Wi-Fi Switches, Smart Plugs, etc.)
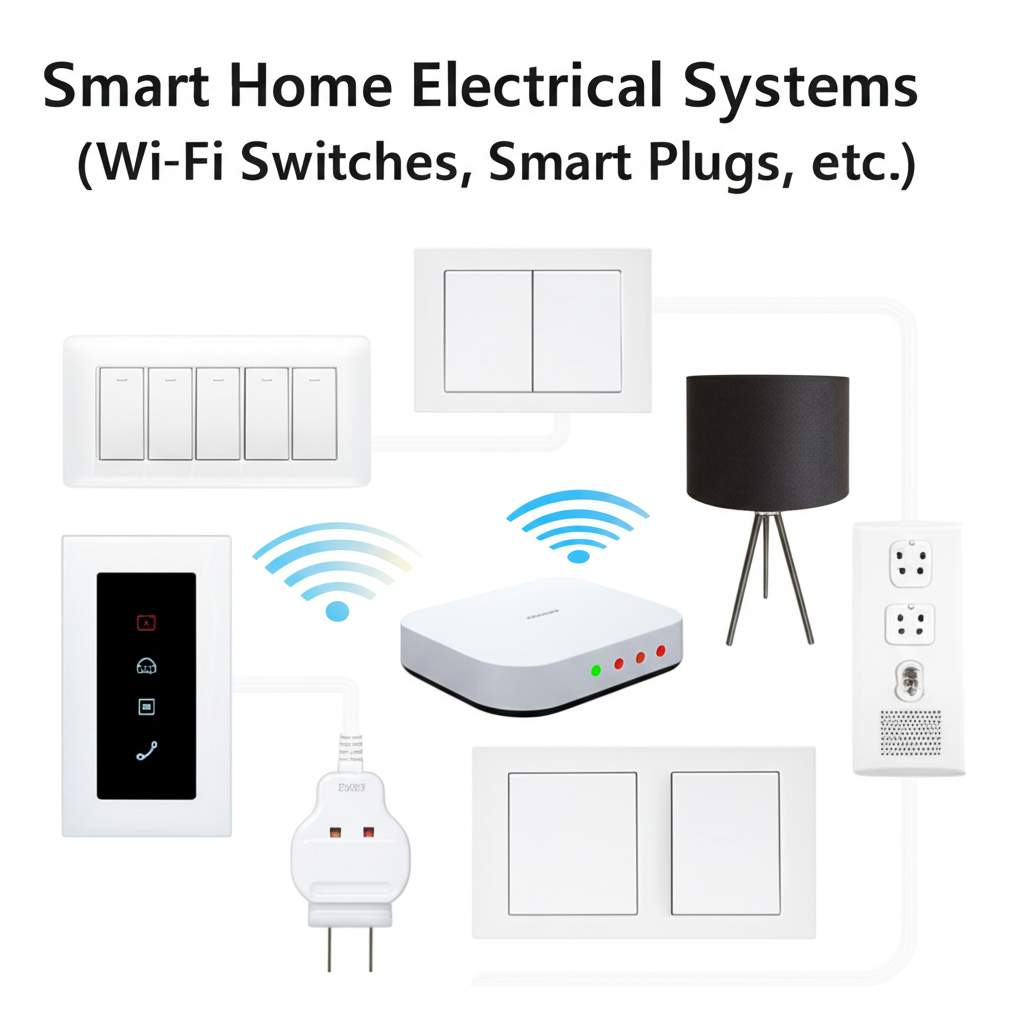
The digital age has brought remarkable convenience to home electricity. Smart home electrical systems leverage Wi-Fi, Bluetooth, and other wireless technologies to give you unprecedented control over your lights, appliances, and even security systems, often from your smartphone.
- Smart Plugs: These are simple adapters that plug into existing outlets, allowing you to turn any plugged-in appliance (lamps, fans, coffee makers) on or off remotely, schedule routines, or even integrate them with voice assistants.
- Wi-Fi Switches: Replacing traditional light switches with Wi-Fi enabled versions allows you to control your lights from anywhere, dim them, set schedules, and group them with other smart devices.
- Smart Lighting Systems: These go beyond simple on/off control, offering color changing capabilities, tunable white light, and advanced scene settings.
- Smart Thermostats: While not directly an electrical switch, smart thermostats often integrate with your home’s heating and cooling electrical systems to optimise energy usage based on your preferences and even learn your habits.
Installing smart plugs is as simple as plugging them in and configuring them via an app. Installing Wi-Fi switches typically involves replacing an existing switch, requiring basic electrical knowledge and adherence to the same safety precautions as installing a regular switch (power off!).
These innovations not only add convenience but can also contribute to energy efficiency by allowing for precise control and scheduling of electrical loads.
Empowering Your Electrical Journey
Understanding the basic concepts of electricity isn’t just about technical knowledge; it’s about empowering yourself as a homeowner. By grasping the fundamentals of voltage, current, and resistance, familiarizing yourself with series and parallel circuits, and learning how to safely use a multimeter, you’ve taken significant steps toward becoming a more informed and capable resident.
Remember that safety is always the paramount concern. Never take risks with electricity. However, armed with this foundational knowledge, you can now confidently approach common electrical situations, troubleshoot minor issues, and appreciate the intricate yet elegant system that brings power and convenience to your daily life. This is just the beginning of your electrical journey – a journey that, with respect and continued learning, will make you a more capable and secure homeowner.